Since the very end of May, I’ve taken weekly measurements of the height of all of the first year hop bines in my test yard. Here are the results, by location and height:

Like any pile of data, we come away with more questions than answers: are there significant differences between the locations that grew better and those that grew worse? Is there a variable at play that isn’t described by the graphic? In this case, I can tell you I hope not; they’re all watered automatically and at the same rate – I tested! They also all have nearly exactly the same amount of sunlight per day, due to the location and alignment.
However, it is neat to notice how the different variety of hop plant are growing differently: you can see that B2 and B3 are far outgrowing the others (at 85″ and 93″ respectively, versus a yard average of 41″ for this week) – these plants are both of the Chinook variety, described by my friends and yours at Hopunion as “A high alpha hop with acceptable aroma.”
We can also see that the two laggards (A1 and B1) are both Centennials (“Very balanced, sometimes called a super Cascade.”) – while I know that the first year’s growth is not necessarily indicative of any plant or variety’s long term success, it will be interesting to see how these trends correlate to yield in future years – it’s possible that the Centennial plants are pushing out more substantial root stock than the others, which may make this apparent first-year laziness in fact an investment in greater long term success.
Ain’t data fun?


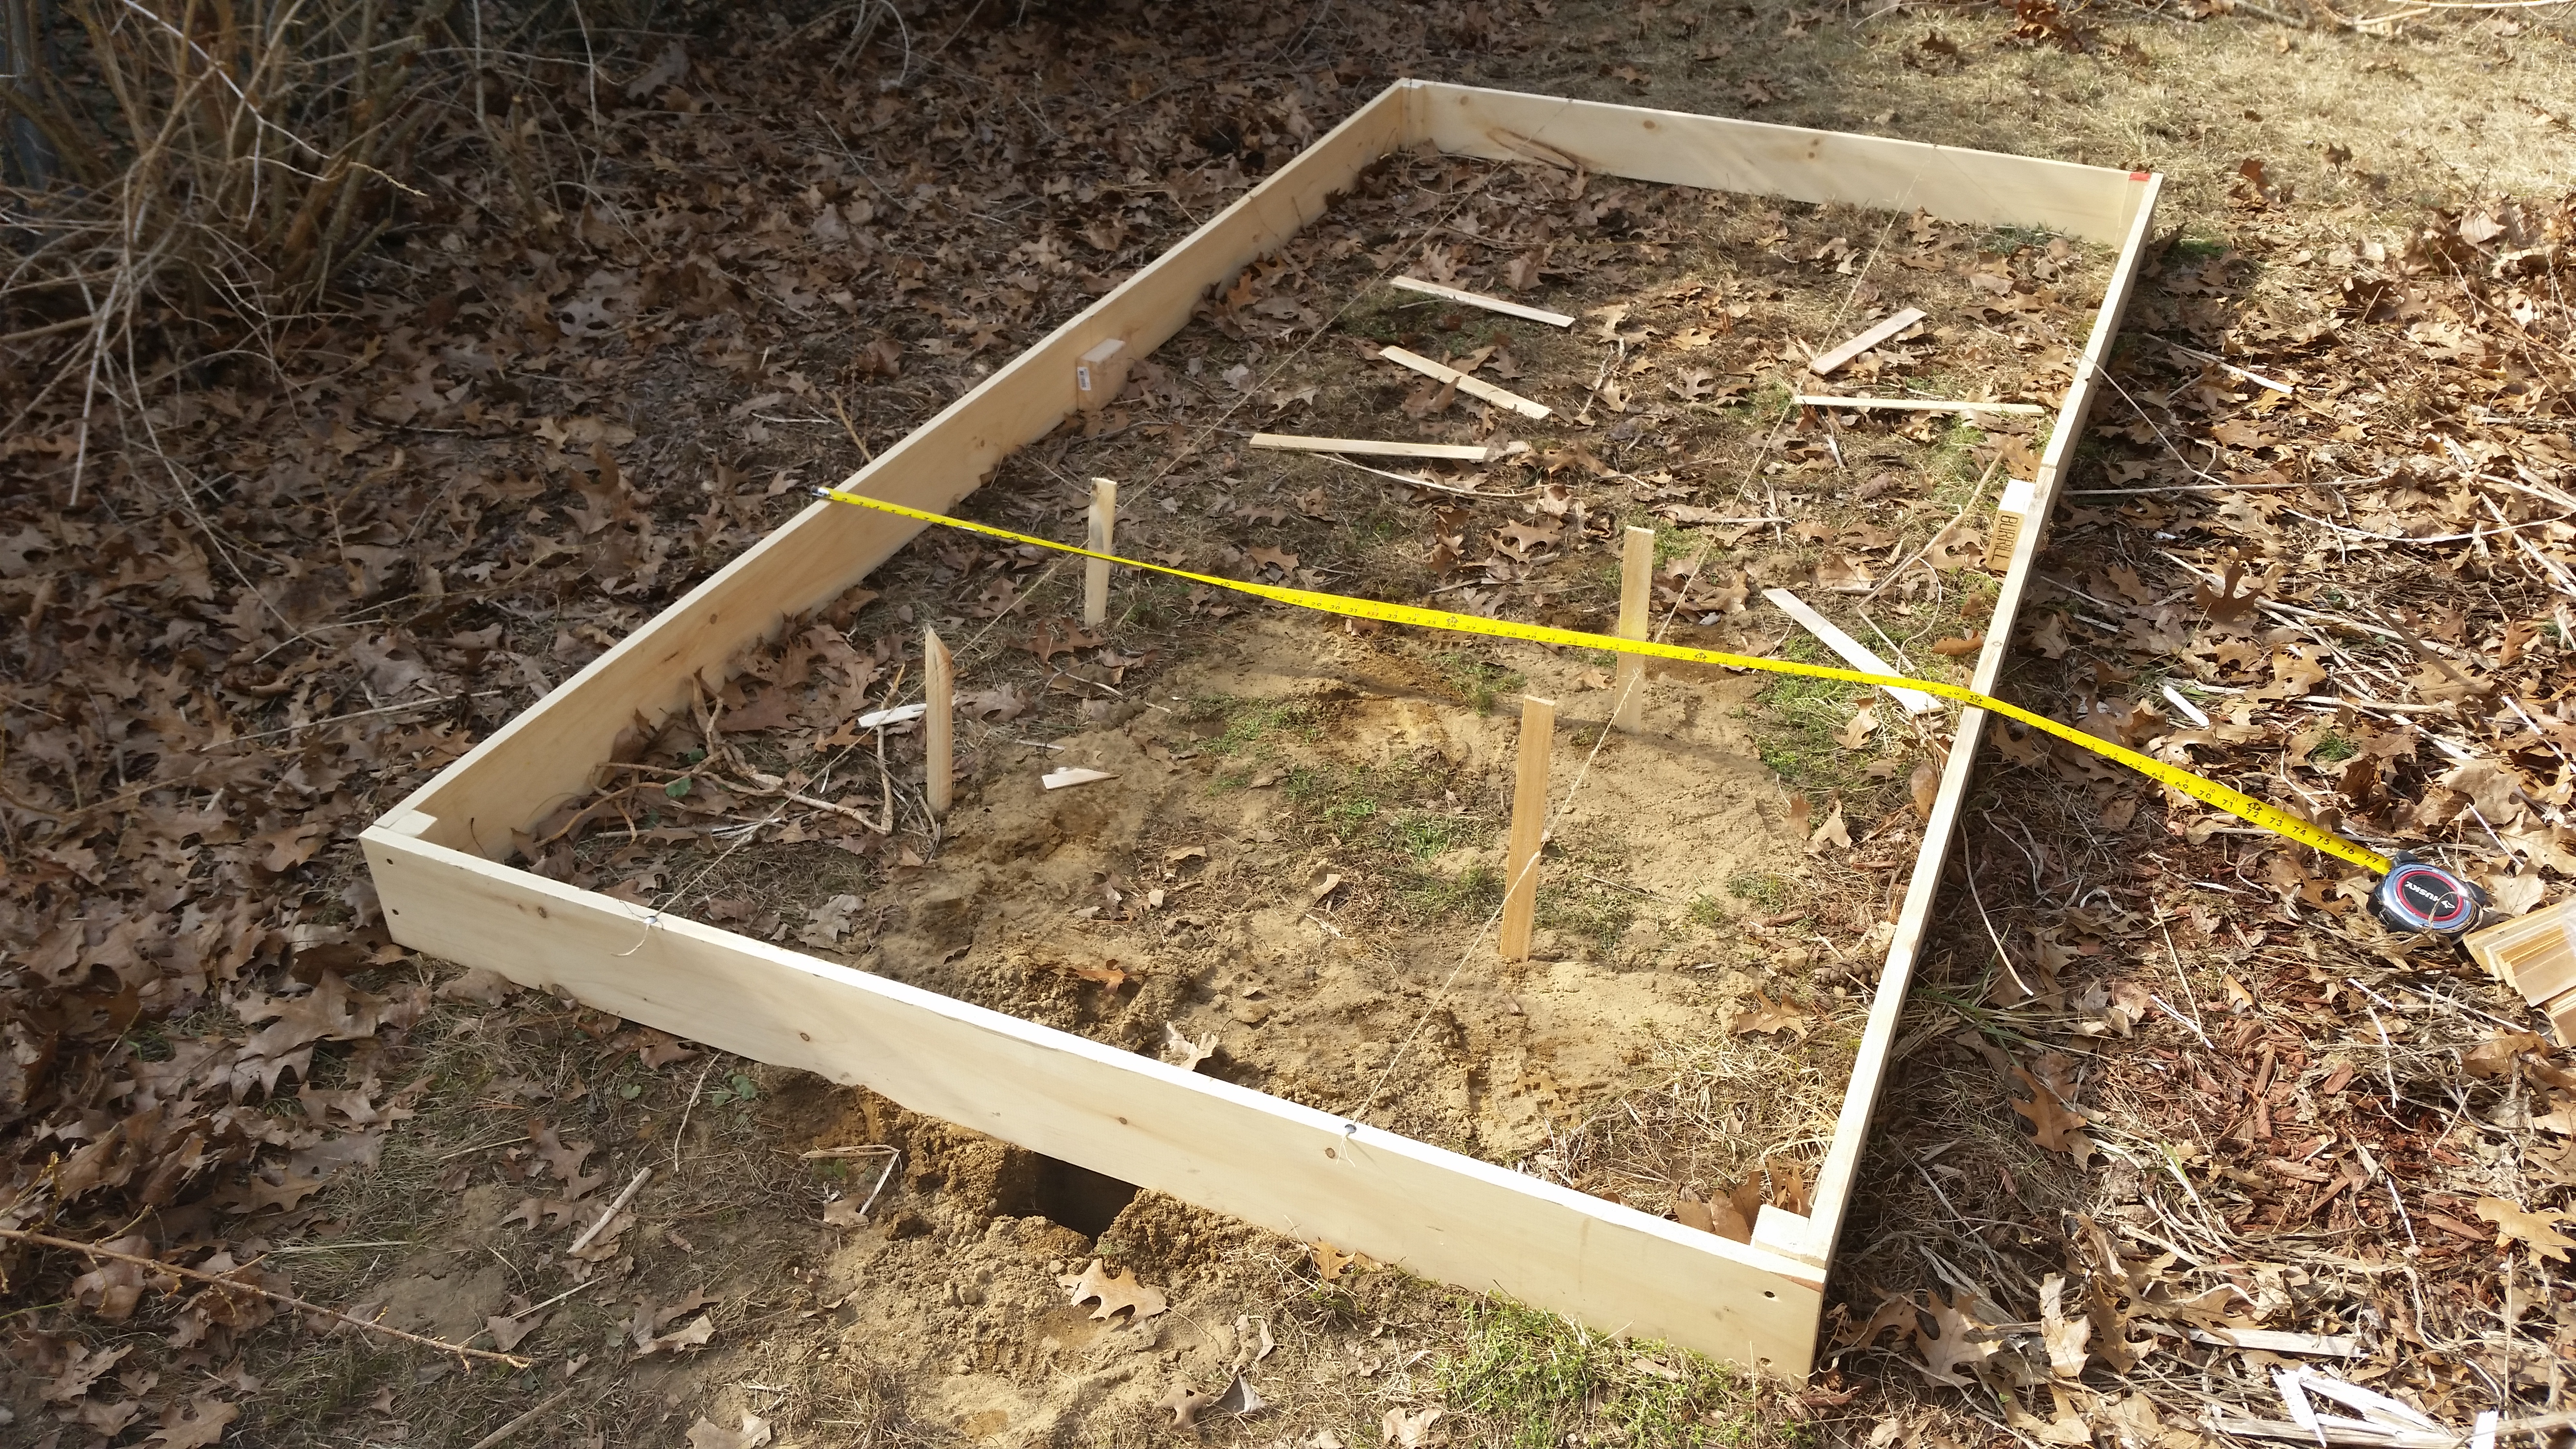
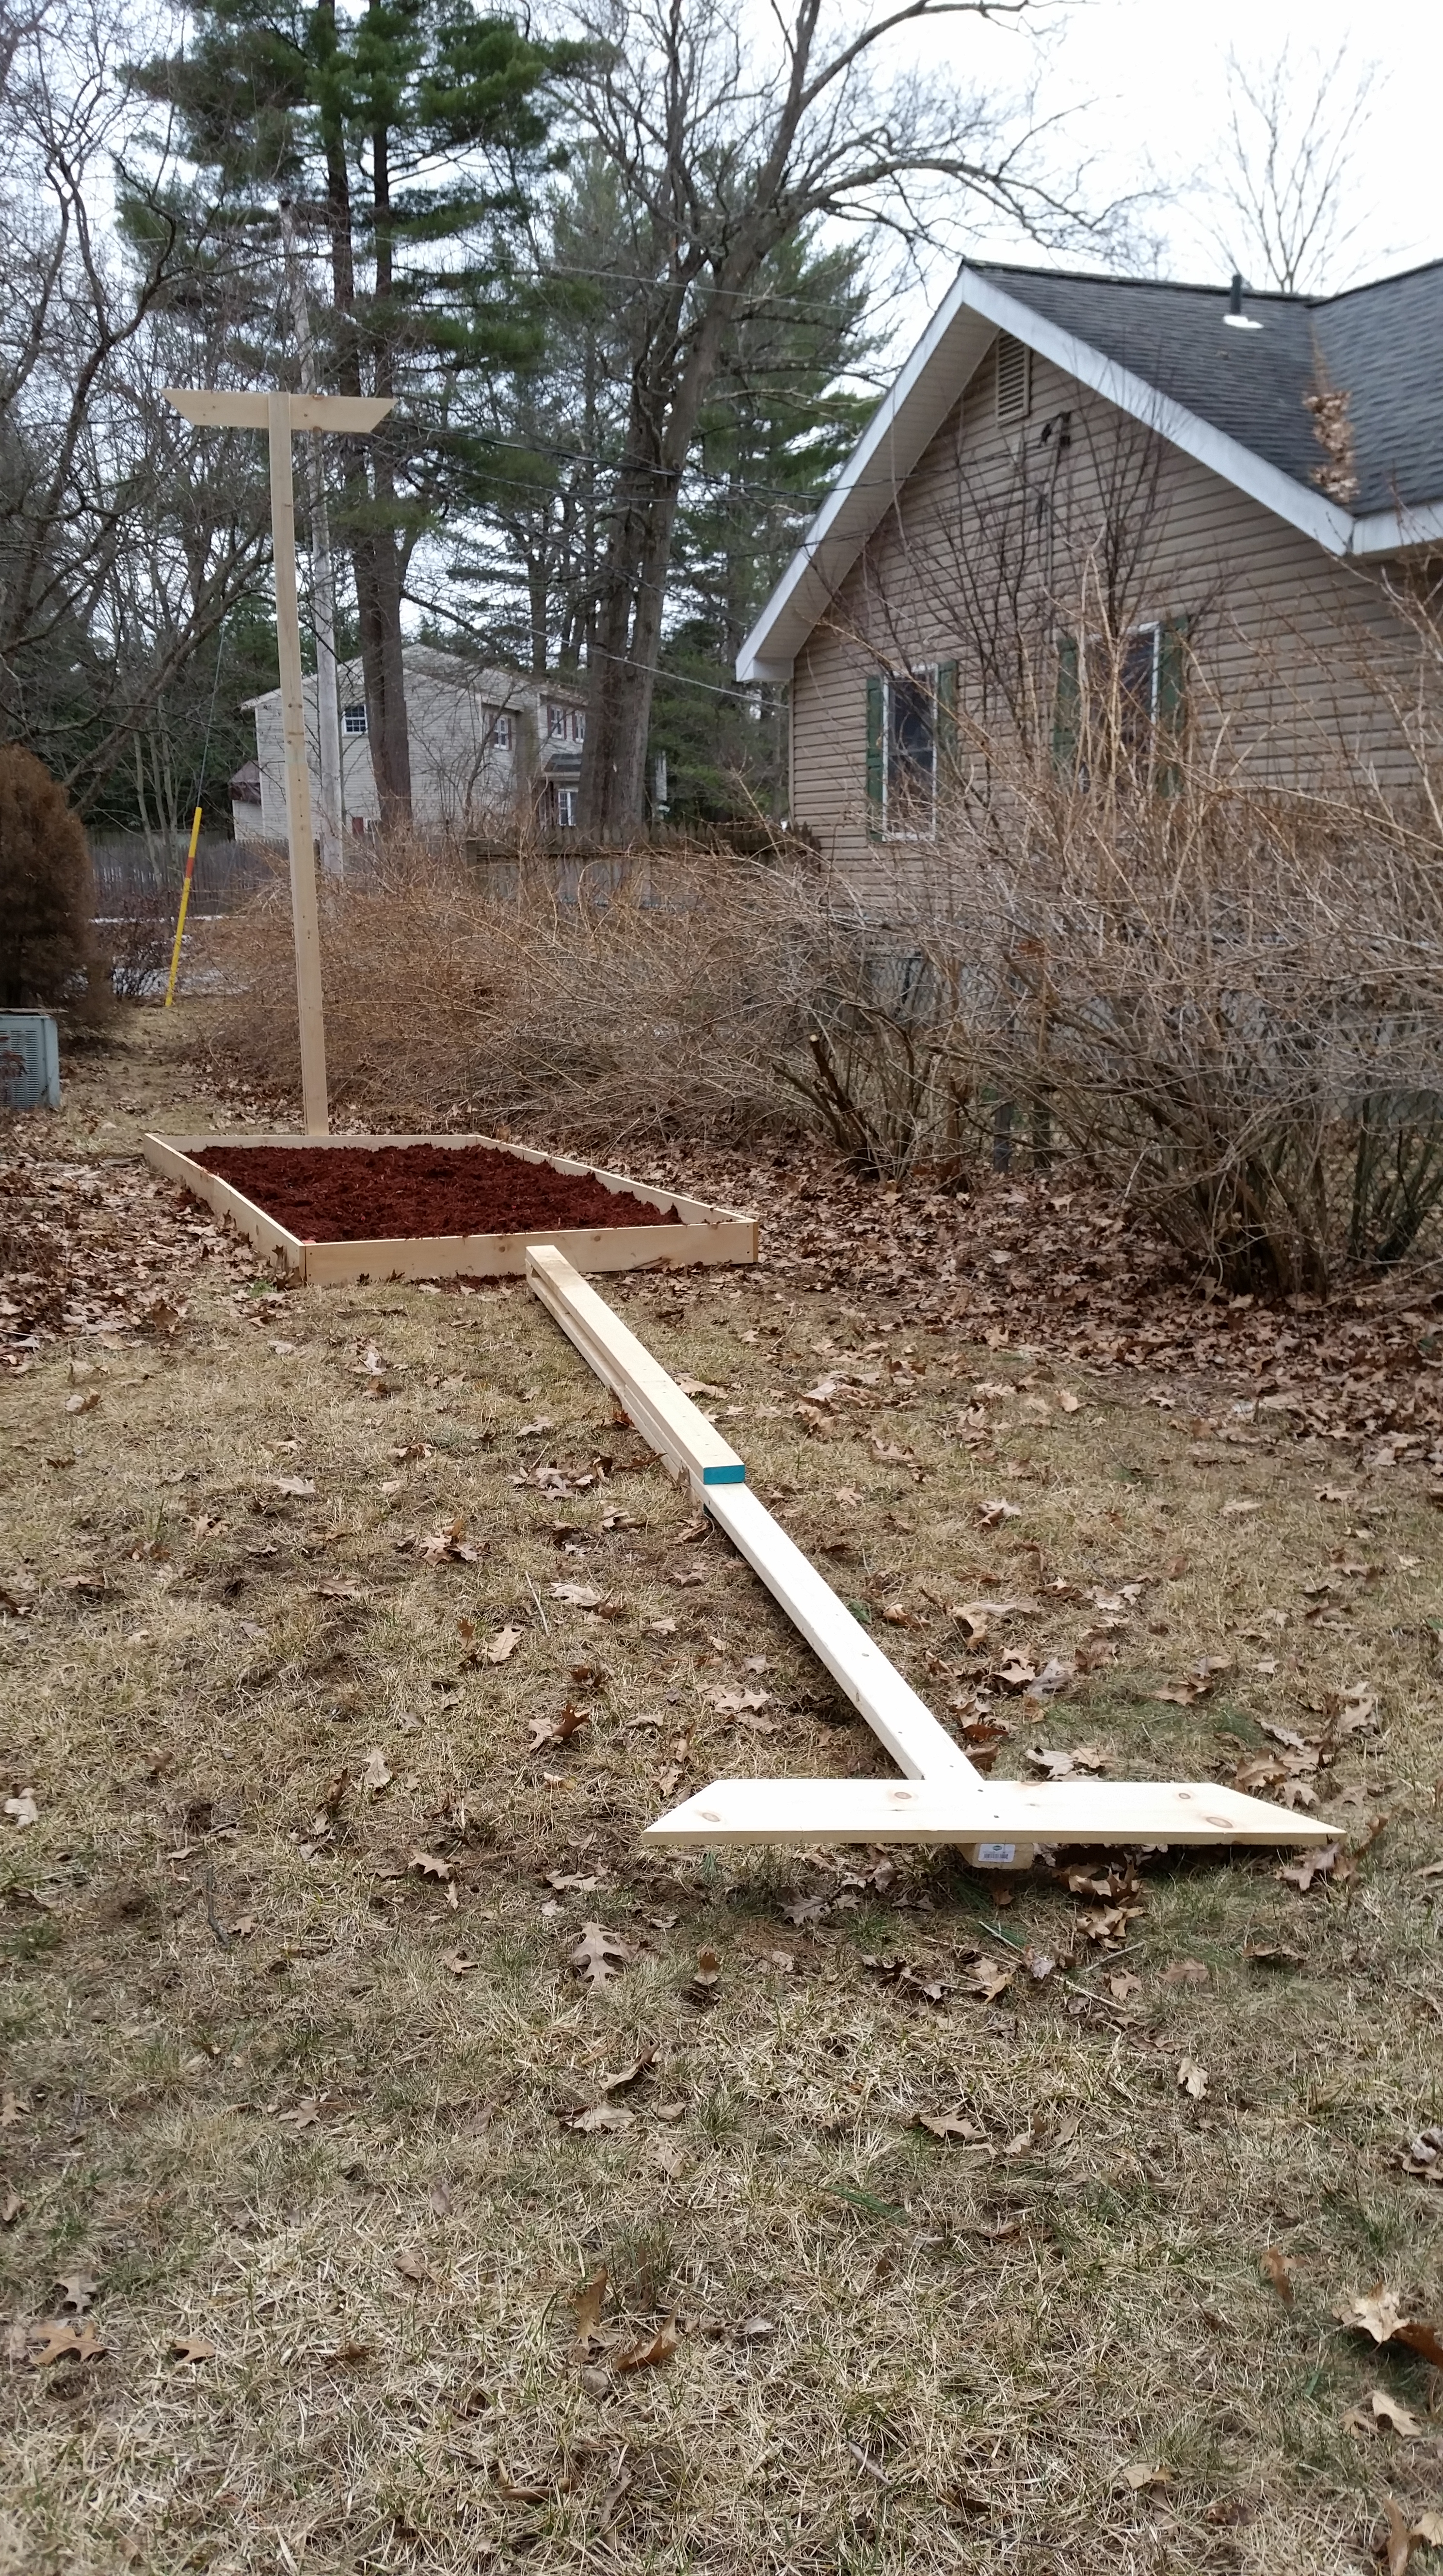
 It turns out that at the time, the ground was frozen roughly ten inches below the surface. This made digging and preparing the bed a bit more complicated, and meant I couldn’t fertilize quite as much as I’d have liked. The real problem was that our compost was just one huge frozen cube of garbage, so these are only fertilized with organic synthetic fertilizer. I used a technique called
  Following the digging and fertilizing, I laid down what felt like five or six layers of cardboard and newspaper – probably four or five months worth of old packages, coupon
 Once all of that is down and roughly in place, I put together what’s called a drip irrigation system – you can see the final result here – the big idea is that once it’s properly dialed in, it will run on a timer and water the bed without any intervention on my part. Yes, I sprang for the timer that can detect a rainy day and change its behavior, because who doesn’t want that?